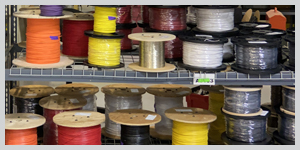
Wire harnessing is essential to the operation of electrical devices. A wire harness is a system of insulated conducting wires bound together with insulating materials, used in the electrical system of a machine to transmit signals or electrical power.
Manufacturing wire harnessing is a simple process that needs to be followed carefully to ensure wiring for an electrical system works properly and avoids any flaws. Before discussing how to build a wire harness, we should identify some terminology involved in the process.
Terminal: the point of which a conductor forms a component, device or network come to an end, or an electrical connector at the end point.
Crimping Plier: a tool used for jogging two pieces of metal or other ductile material, usually a wire and a metal plate, by deforming one or both of them to hold the other.
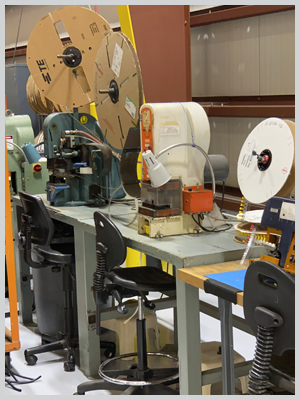
Electric Crimping Press: a type of solder-less electrical connection so that stranded wire becomes terminated using a machine.
Heat Shrink Tubing: a shrinkable plastic tube used to insulate wires, providing abrasion resistance and environmental protection for stranded and solid wire conductors, connections, joints, and terminals in electrical work.
Connectors: an electro-mechanical device used to join electrical conductors and create an electrical circuit. There are many different types of conductors used for different purposes and kinds of connections. The different types of connectors are:
- Plug and socket
- Crimp on connectors
- Soldered connectors
- Insulation-displacement connectors
- Binding posts
- Screw terminals
- Ring and spade connectors
- Blade connectors
- Board to board
Wire Stripper: Device used to strip the electrical insulation from electric wires.
Building Process
Building a wire harness begins with creating a wire diagram. A wire diagram is used to understand how the wires are laid out as well as how much wiring will be needed for the project. The diagram is made up of two parts, the schematic and harness. The wire schematic shows the parts, their locations and how they are created. The harness diagram helps create an exact plan of how all the wires will be put together.
After the wire diagram is created and the measurements are made, you want to strip the wire. Using a wire stripper, remove a small piece of wire insulation from one end of the wire. The length for the cut should be based in the length of the terminal size.
Next the heat shrink wrap must be cut to the length of the wire, leaving extra shrink wrap over the exposed, stripped wire. The extra shrink wrap is there to ensure the shrink wrap completely covers the exposed wire after the heating process.
Once the wire is trimmed and shrink wrap applied, you will then attach a terminal to the exposed end. To apply a terminal, place its sea, into the crimp pliers and crimp the terminal slightly. Then insert the terminal into the wire and use the crimper to squeeze the wire and terminal together. Once the terminals are attached, use a heat gun to seal the heat shrink wire and terminal connection.
Once completed, your wire should be ready to pass electricity through.
For more information about Intellitec’s manufacturing capabilities, head over to the Contact Page and send us a message.